wolf_from_wv
Plinker
Joined: 15 Oct 2007
Posts: 73
Location: North Central West Virginia
|
 Posted: Thu Oct 25, 2007 5:49 pm Post subject: Basic Hi-Point Pistol Take Down Guide. Posted: Thu Oct 25, 2007 5:49 pm Post subject: Basic Hi-Point Pistol Take Down Guide. |
 |
|
By
using the following, you imply that you are able to follow gun safety
rules, and that you are able to use basic hand tools without inflicting
great bodily harm on yourself or others…
HiPoint Pistols 101
======================================
Disassembly
Basic tools needed:

1/8" pin punch (tight fit)
3/32" pin punch (looser fit)
1/16" pin punch (tight fit)
3/16" pin punch (tight fit)
ball pein hammer
bench blocks (hockey pucks)
3/32" Hex key/allen wrench
1/8" flat screwdriver
-------------------------------------
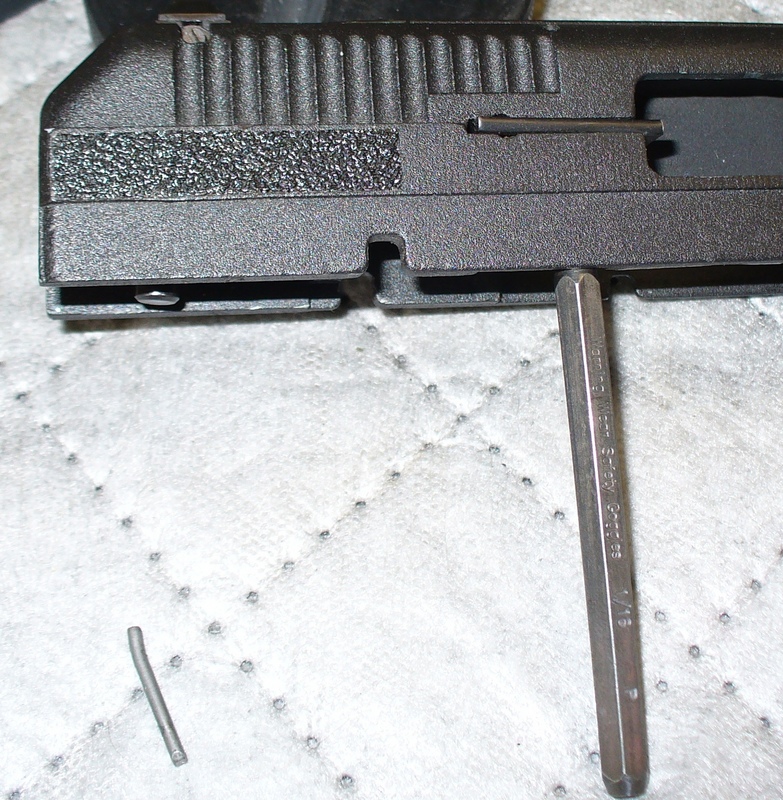
1. Make sure gun is unloaded.
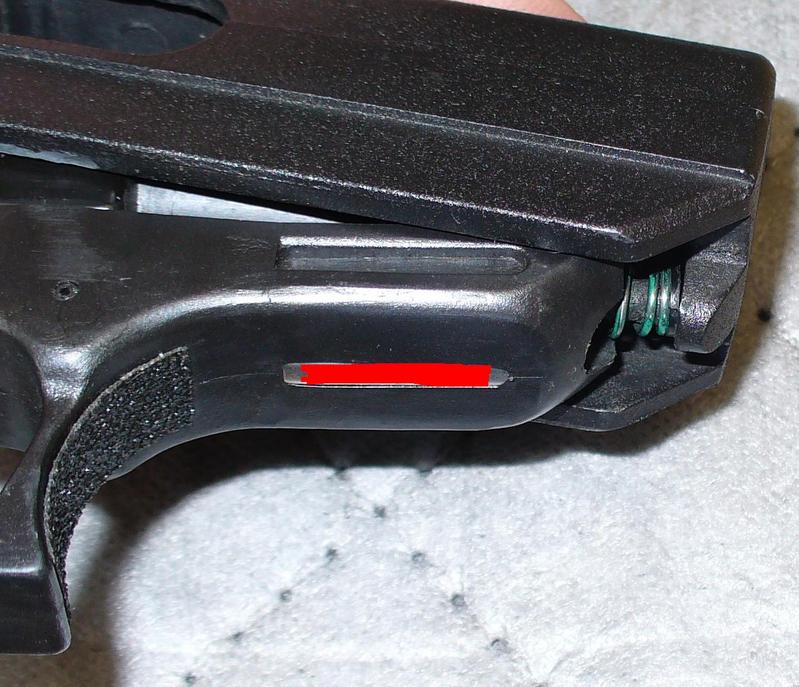
1.5 This shows the slide retainer in the rear of the slide.
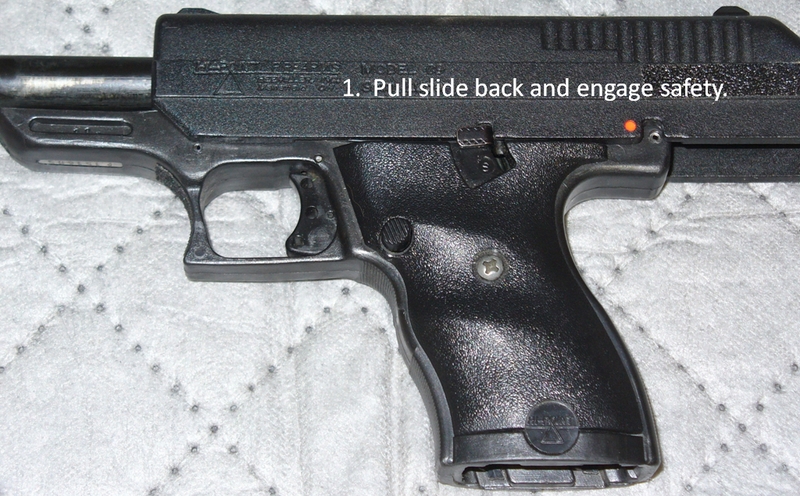
2. Pull slide back and engage safety.
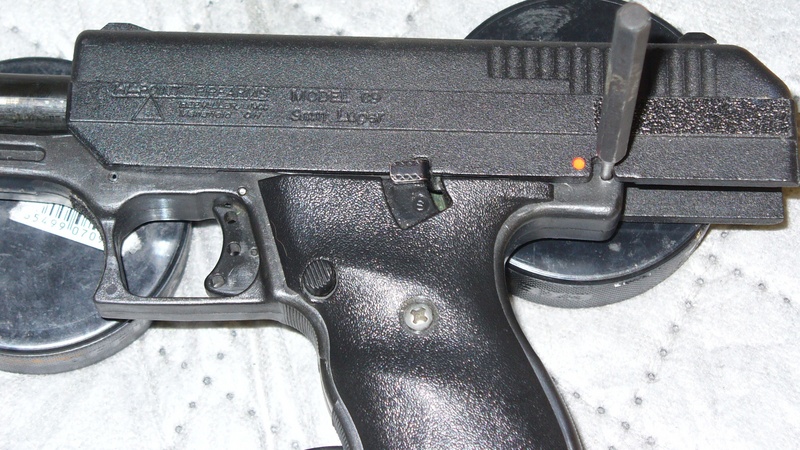
3. Punch out roll pin with the punch.

4. Pull slide back and lift up. Watch out for the recoil spring under the barrel in the front.
That is basic HiPoint pistol disassembly.
Reassembly

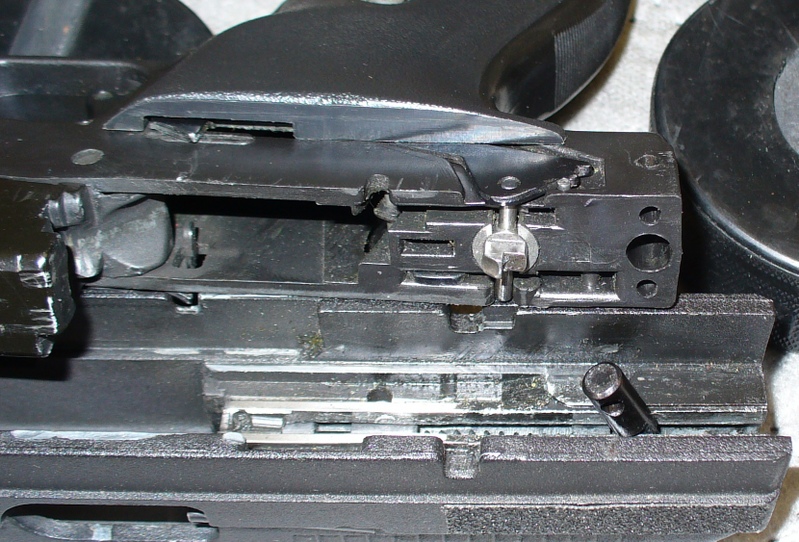
When you go to reassemble the pistol, the slide retainer goes down in the hole indicated.
Once you have reassembled the pistol, pull the slide back a couple times, and test for function with a snap cap.
------------
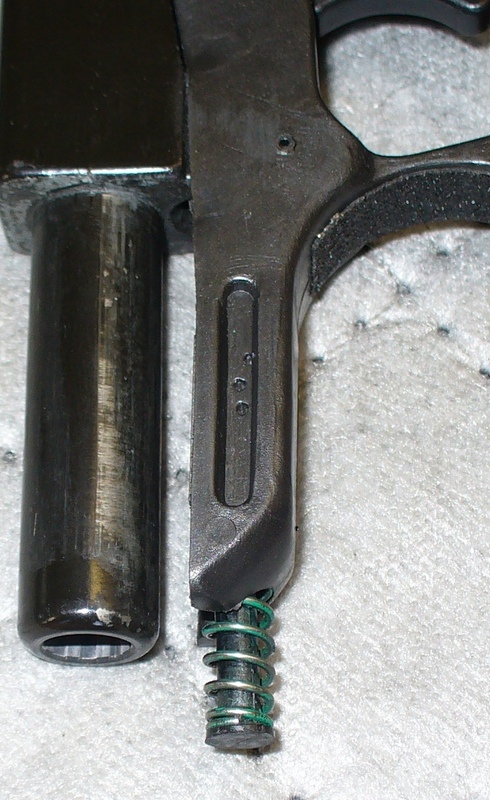
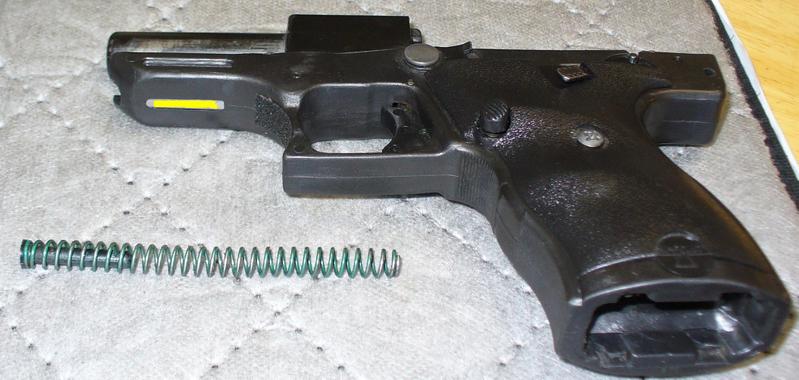
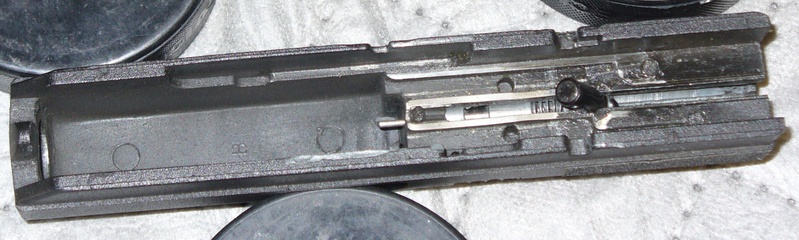
Proper location of the guide rod.
===================================================================================
HiPoint Pistols 201
Advanced disassembly:
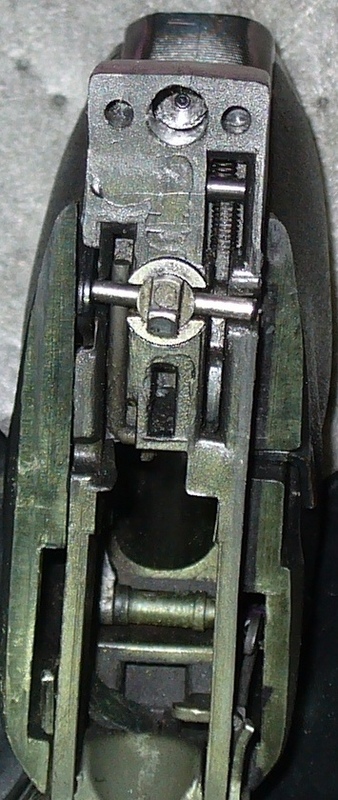

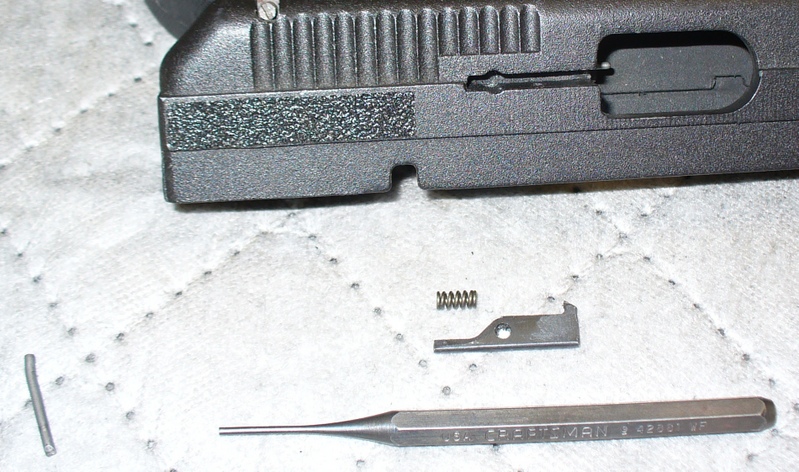
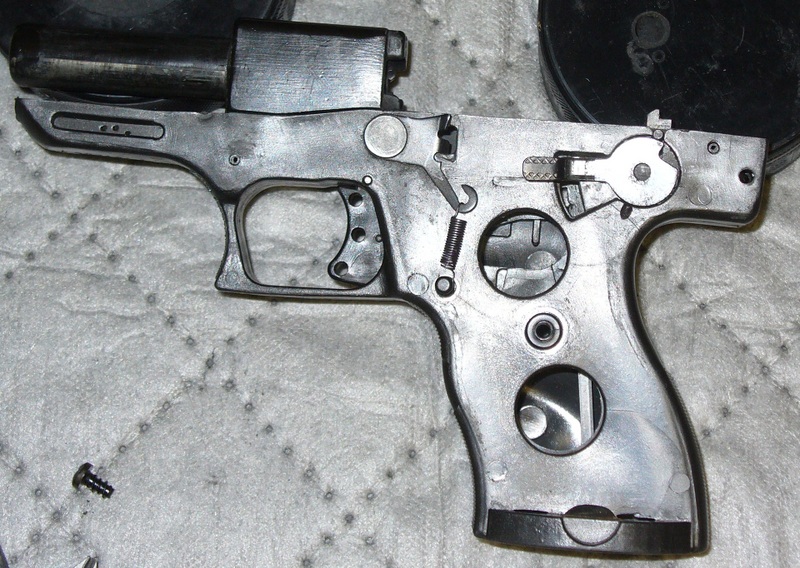
5. Sear is removed by tipping the cam slightly to the right (or removing it). Then, the sear can be lifted up and out.
THE DROP SAFETY
This is a necessary assembly. It helps to keep you pistol from
firing if it is dropped. I advise dropping it to see if it really
works.
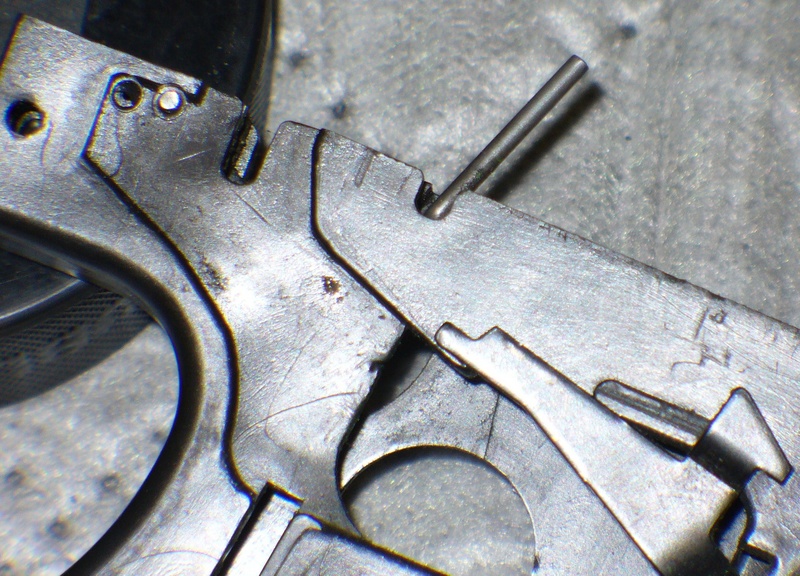
6. Underneath the sear, is the counterweight pivot pin. The
counterweight is removed through the magazine well. (Flat side goes
down.)
THE EJECTOR
7. This is the ejector pivot pin. It should be driven towards the
top of the slide to remove it. When you remove the punch from the hole,
watch out for the spring that is behind the ejector. Reinstall the pin
from the top.
------------
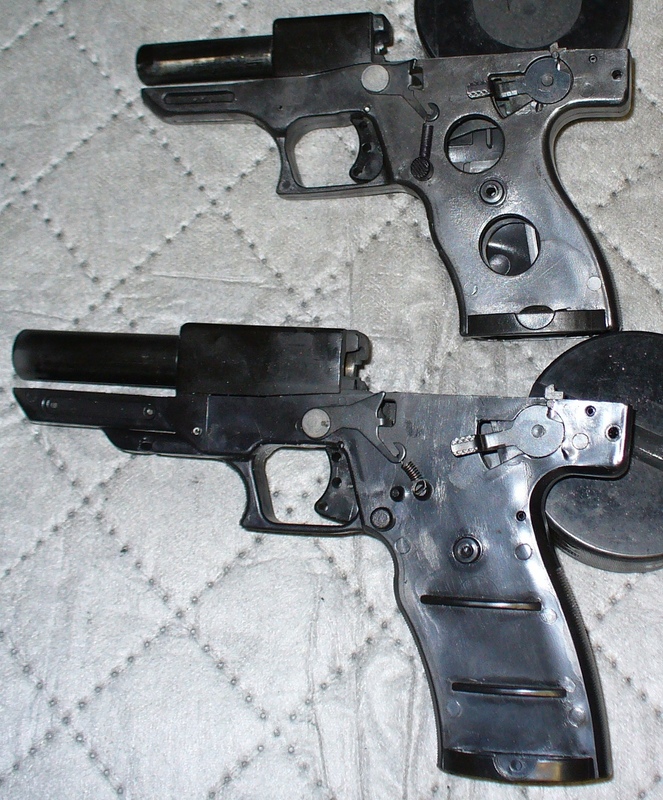
C9 overview pictures
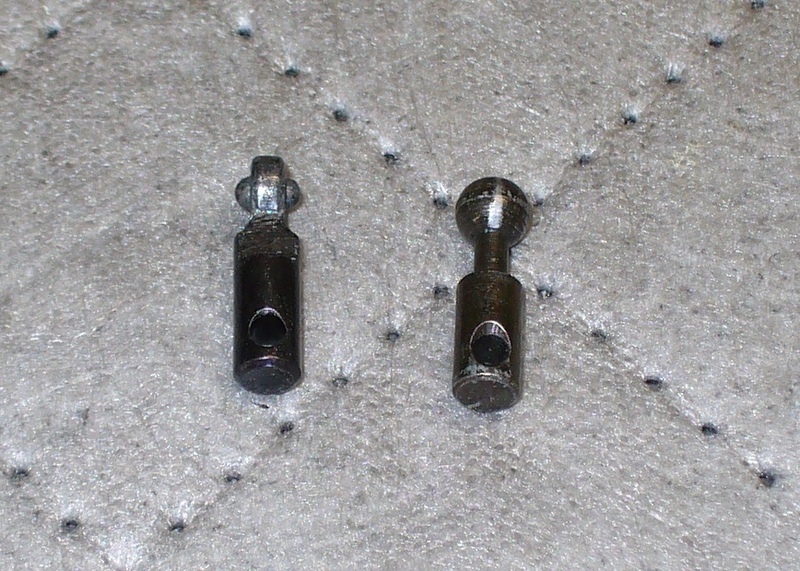
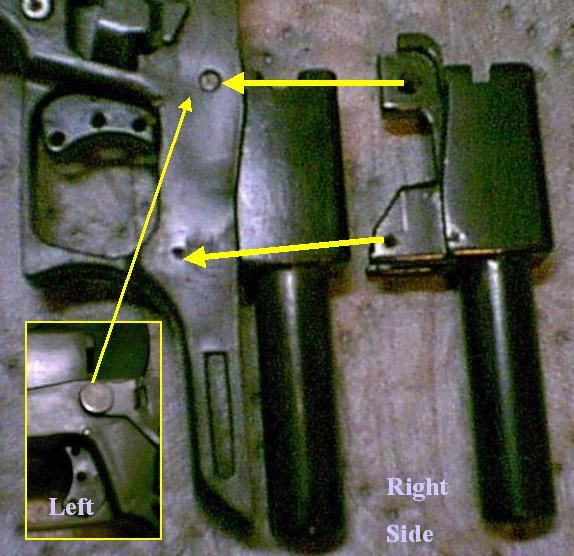
Old and new slide retainer
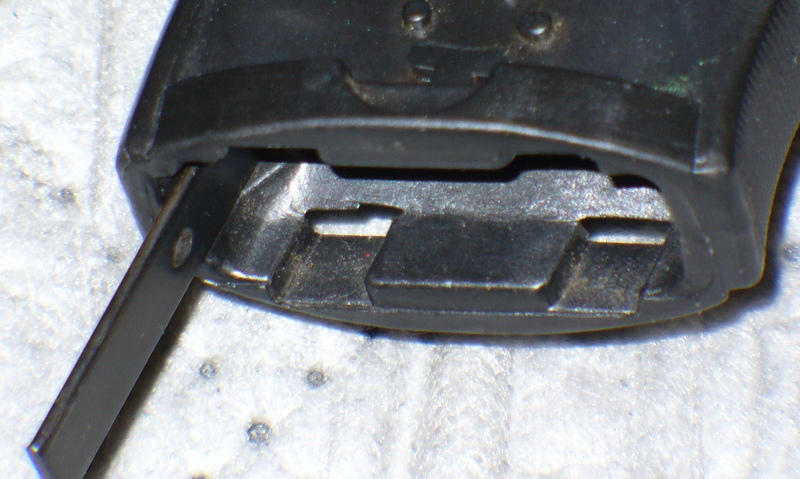
Right side
The magazine lockout fits with the “_” part of the “L” at the
bottom. The little wire spring fits with the “_” part of the “L” in the
little hole in the magazine release button. To remove the grip, lift
the top of it up a little, and then lift the grip towards the top of
the pistol.
Left side
Top

Inside the slide
--------------
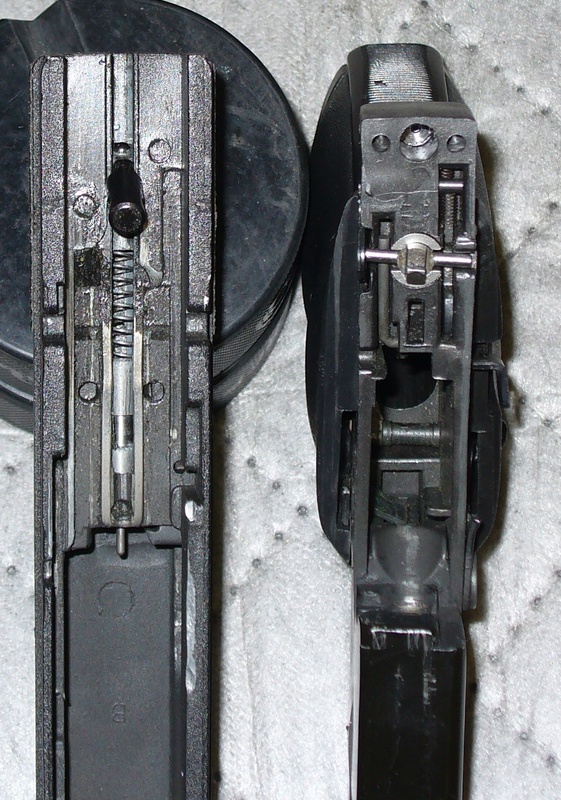
Comparison of C9 and JHP .45
Right side

Left side
===========================================
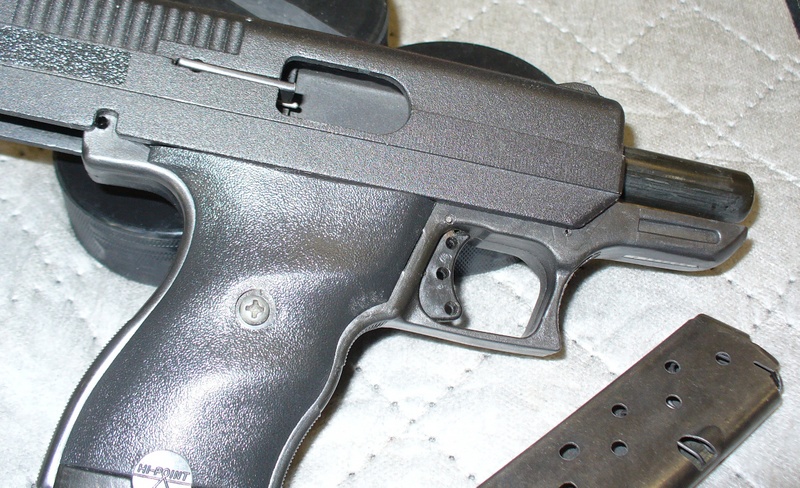
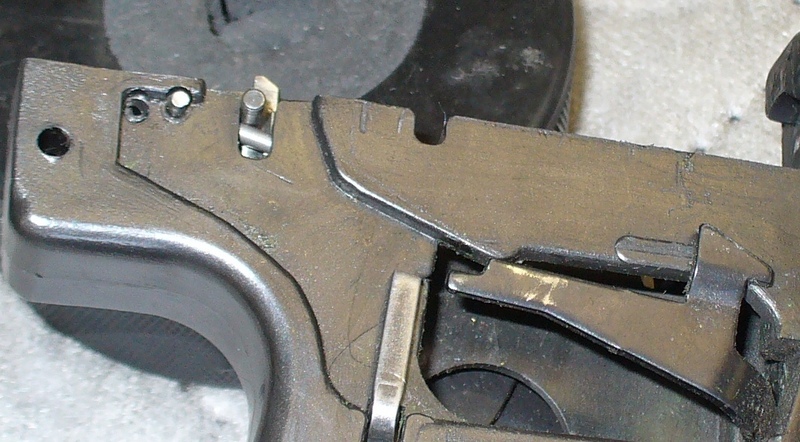
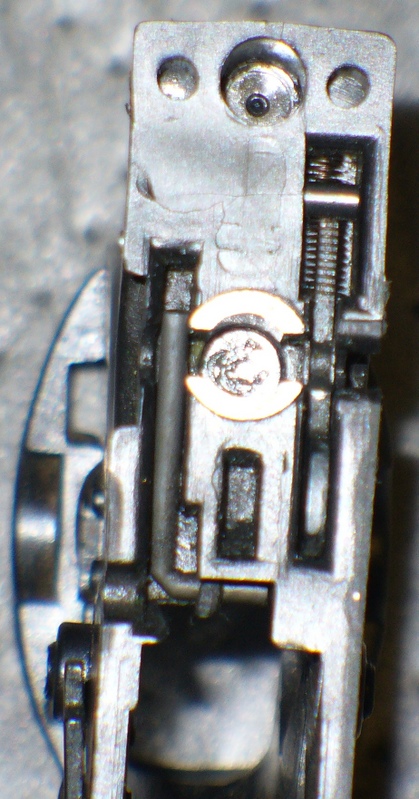
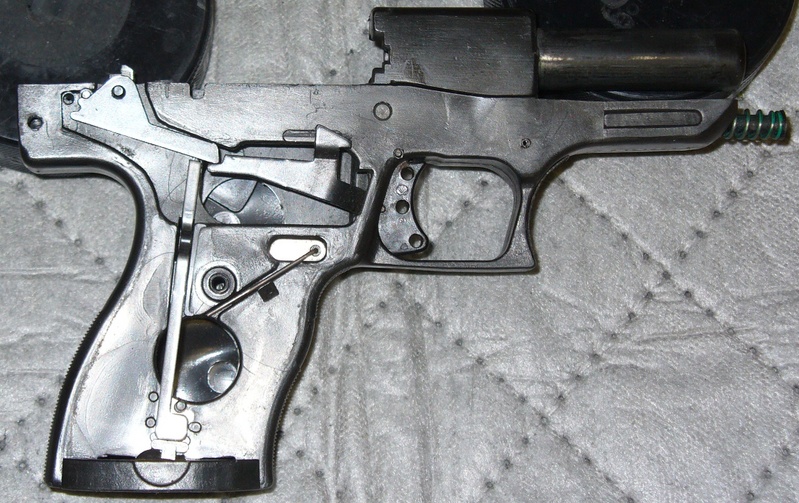
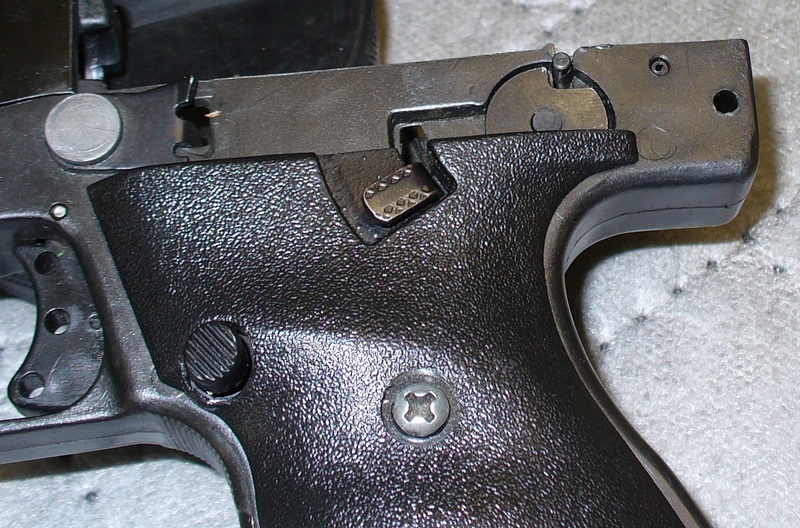
Basic operation
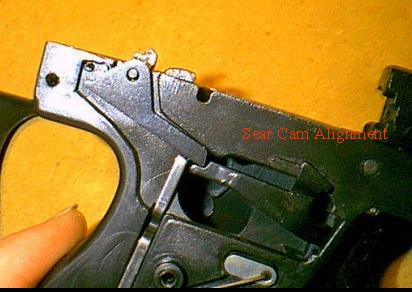
5. Without a magazine in the pistol, the place indicated by the arrow
fits in the notch (D), and blocks the trigger and sear cam from
operating (C). When you insert a magazine, it is pushed up, allowing
the trigger and sear to operate. The trigger linkage (A) pushes down on
the cam (B), which pulls down on the sear. This allows the firing pin
to advance forward, and strike the primer.

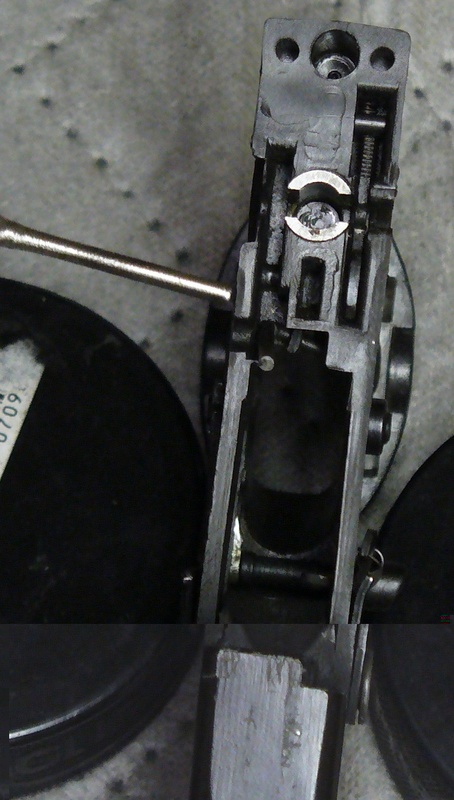
Picture of safety engaged. The safety prevents the sear from falling.
A picture of the safety when it is ready to fire.
==========================================
Other information
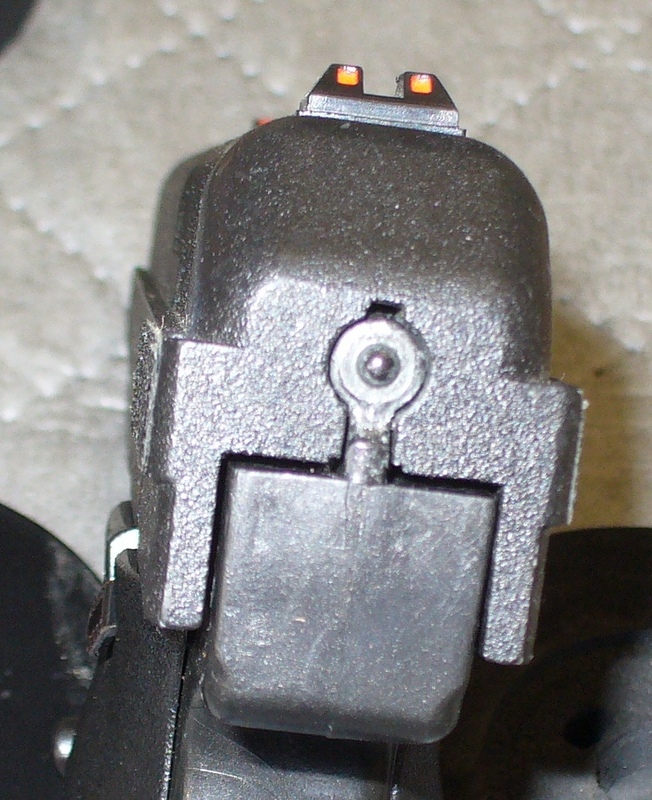
Ghost Ring Sight Installation
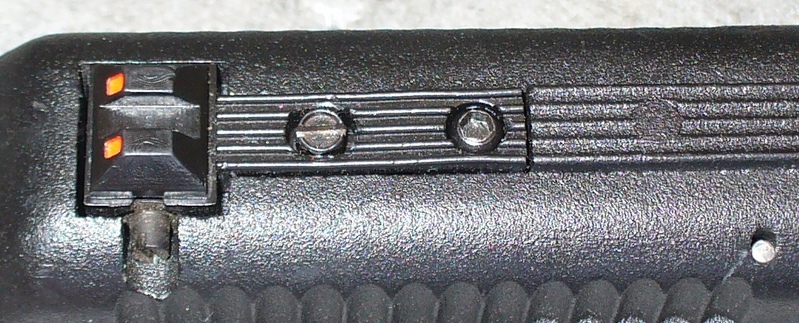
To remove open sight from sight base:
1. Use allen wrench and screwdriver to remove rear sight from slide. Place screws and elevation spring to the side.
2. Turn windage screw counterclockwise until open sight releases from left side of sight base
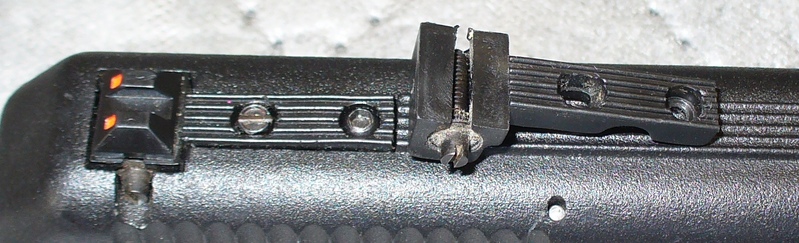
To install ghost ring sight:
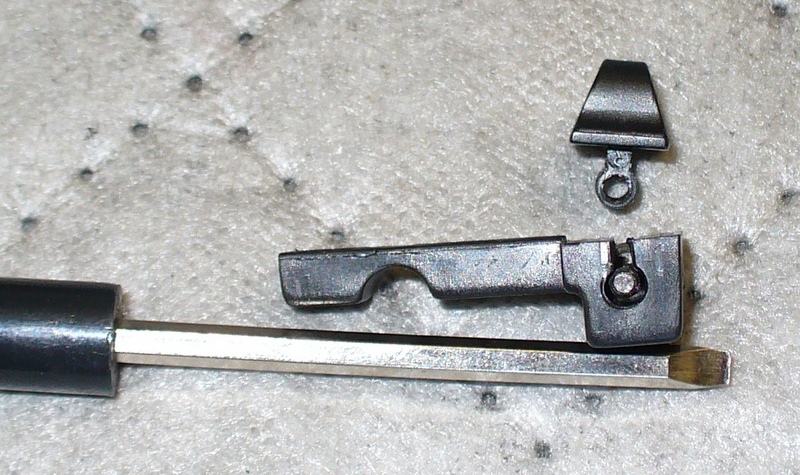
1. With inset (counter bore) side towards you, start ghost ring into the key hole slot in the
left side of the sight base. Turn windage screw clockwise to center.
2. Reinstall ghost ring and sight base back into the slide, being careful to properly align the elevation spring.
Do NOT over tighten the elevation screw.
----------------
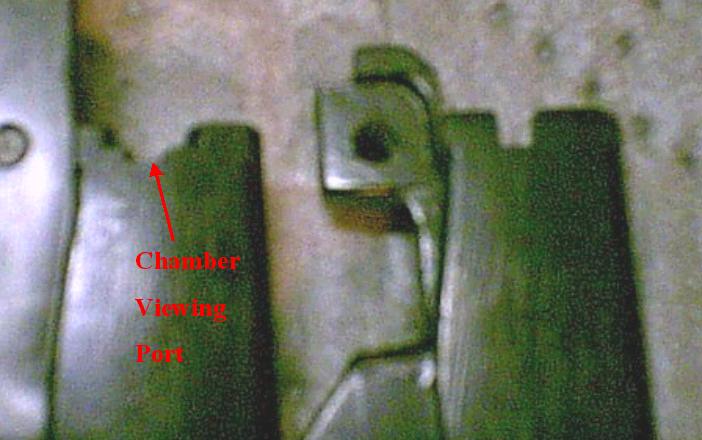
New models have a chamber observation port.
-----------------
Barrel assembly
-----------------
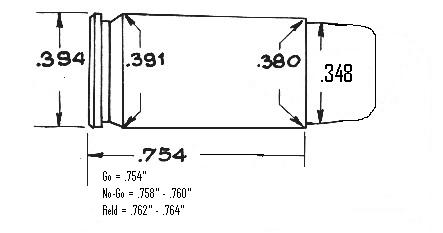
9mm Data

------------------
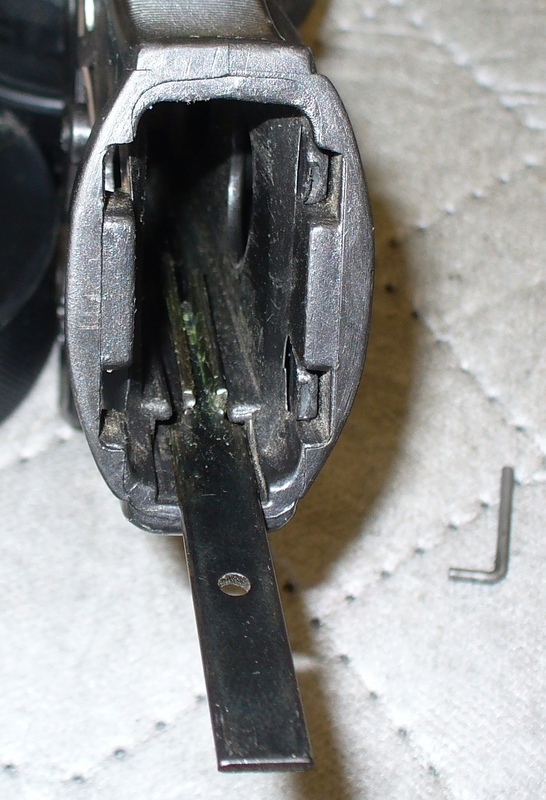
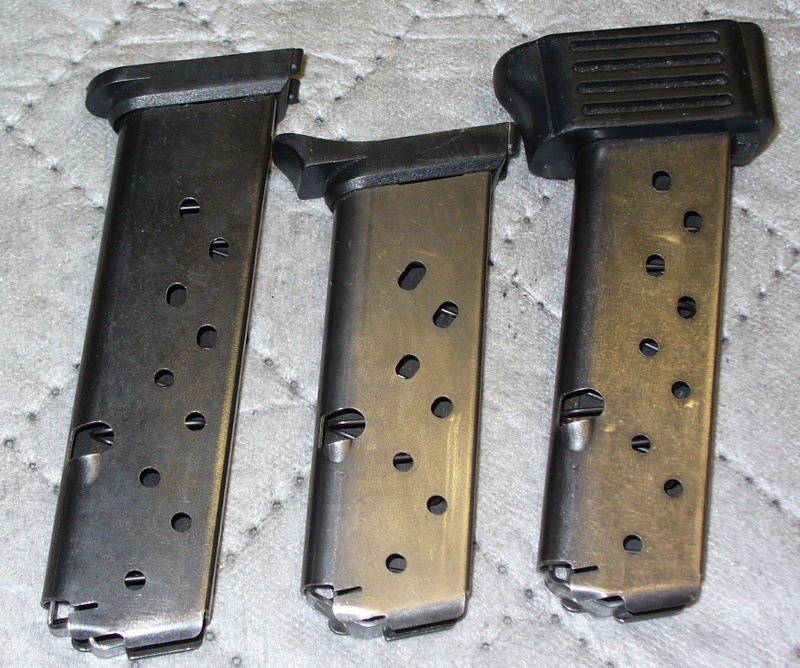
Magazines
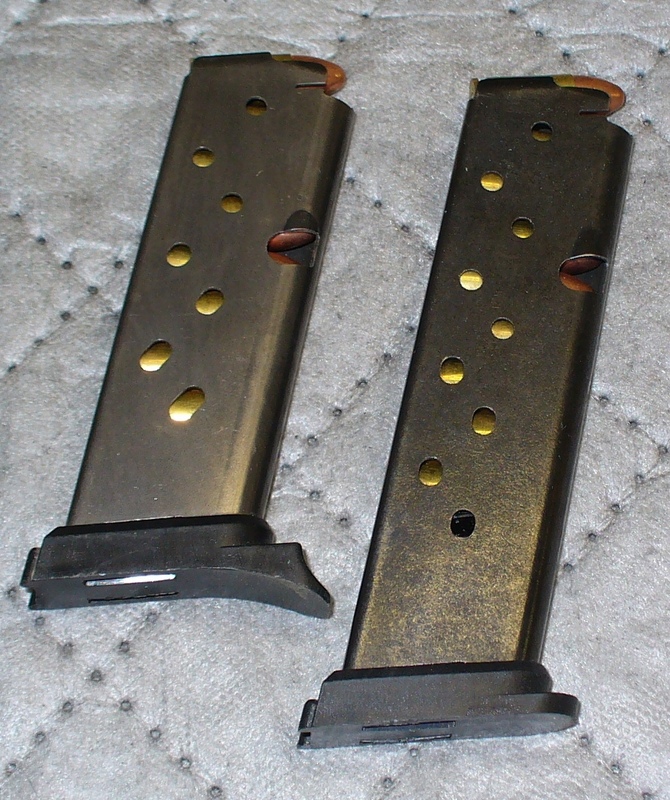
The 8 round magazines will not work in the carbine because they are shorter.
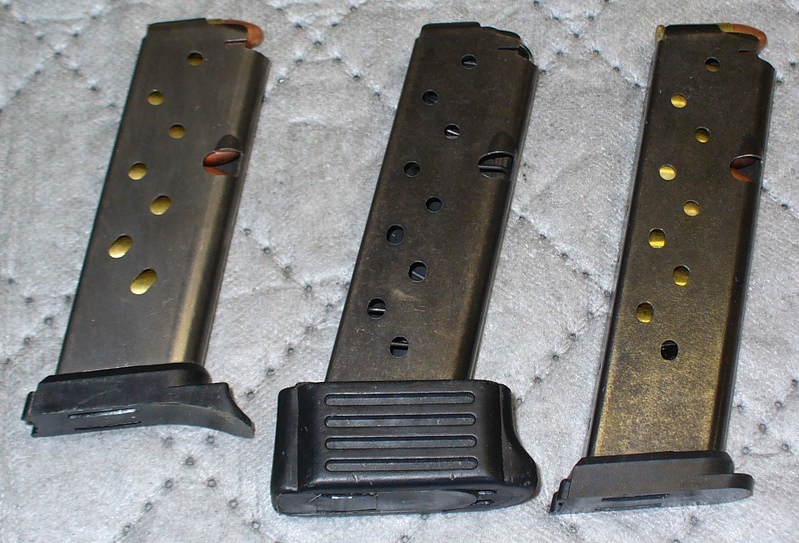
Left to right: 8 round pistol, 10 round pistol, 10 round carbine.
The 10 round pistol magazine has a block on the bottom to help prevent
it from pivoting in the magazine well. The carbine magazines are
capable of being inserting in the magazine well of the pistol, but may
not feed reliably.
The feed lips appear to be the same.
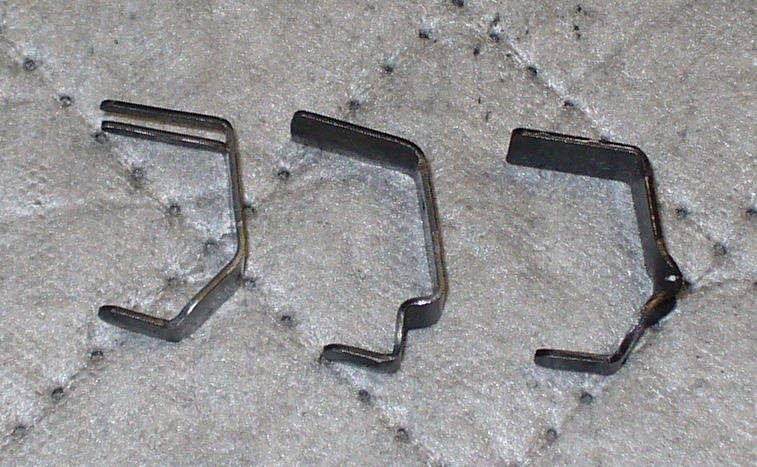
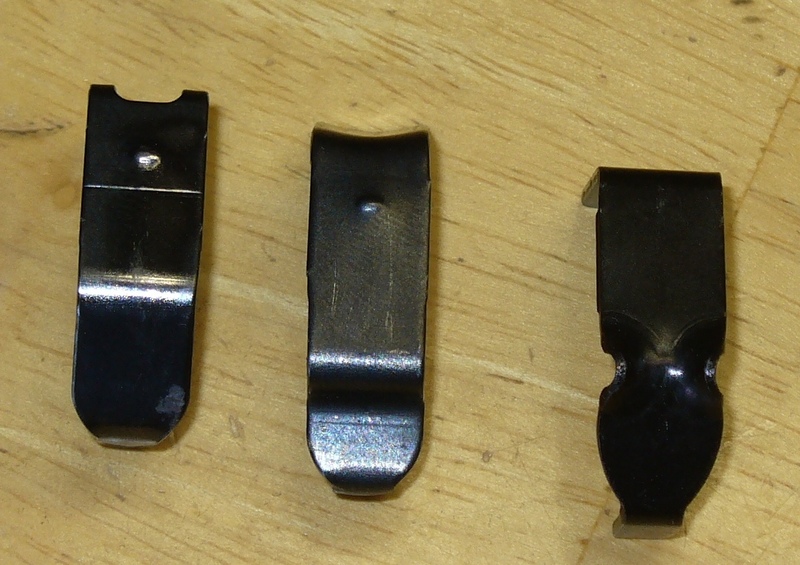
Magazine followers
 |
|
